
Say you made a batch of a very specific mead recipe that you wanted to try for a long time. You observe that the fermentation process has completed, the bubbles have settled, and the mead is ready. Since carrying around a gallon jug of mead is impractical, you know it’s time to prepare for bottling. Bottling mead can seem a bit complicated but don’t worry. We have it all sorted out for you. Let’s dive into how to bottle mead for proper aging and storage.
Which bottle to use
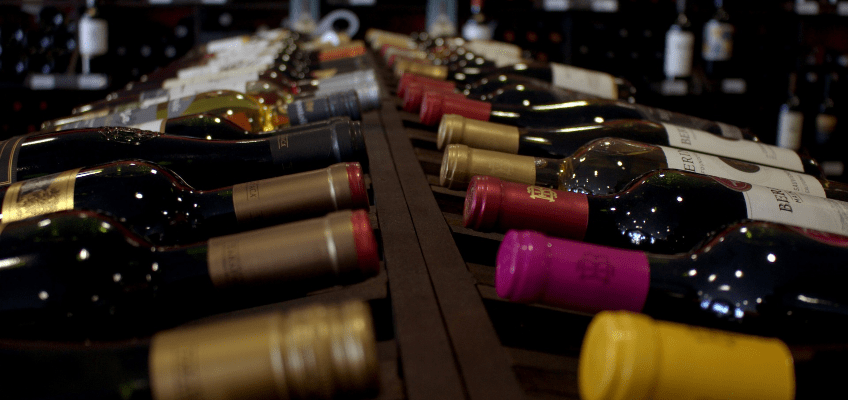
The first step is for you to decide which bottle would be suitable for storing your mead. This will depend on two factors- the level of carbonation in your mead, and its alcohol content.
Wine bottles or beer bottles?
For carbonated meads, beer or champagne bottles are the best options. These bottles are made with thicker glass and have a gradual neck that can withstand the pressure of a sparkling mead. Using a thinner wine bottle for carbonated meads might result in a dangerous bottle bomb.
If you’re bottling a still or non-carbonated mead, wine bottles are excellent, especially for aging bottles. Many mead makers prefer natural corks for wine bottles as they allow for micro-oxygenation, which can enhance the flavor profile of the mead over time.
However, beer usually has a lower ABV than wine, containing only a one-time serving.
Some people who make mead like to bottle it in wine bottles if it is to age for long. A corked wine bottle lets in tiny amounts of oxygen. This is called “micro-oxygenation,” and it can be good for the flavor of the mead. There are many different types and sizes of wine bottles, all of which can be used to bottle a still mead.

Corks
If you use a corked bottle, keep a corker handy, which mead makers usually own. A floor corker is ideal for ease of use, though a hand corker is a cost-effective alternative. Always ensure the corks are sanitized and moisturized with the steam from boiling water before use.
Is the fermentation complete?
You want to be 100% sure that the fermentation has stopped in your mead. Bottling prematurely can result in further fermentation inside the bottle, leading to bottle bursts. There are two popular methods to check if your mead has completely finished fermenting:
The airlock bubbles test
Check the airlock on your glass carboy. If no bubbles are moving through the airlock, the fermentation process is likely complete. Also, observe the clarity of the mead. A hazy appearance doesn’t always mean active fermentation, but a clear mead often indicates readiness.
The specific gravity test
Using a hydrometer, measure the specific gravity of the mead. Fully fermented mead typically has a specific gravity between 1.01 and 1.035, depending on the recipe. If the gravity remains consistent over a few days, the fermentation is done. If you still have doubts, adding potassium sorbate can help prevent further fermentation.

Gather and sanitize your equipment
You need:
- Bottles (clear bottles or dark bottles, depending on your preference for light exposure)
- An auto-siphon with tubing
- A bottling tool or bottle filler
- Automatic bottle filler (optional)
- A hand towel or cloth
Sanitization is critical. Use a good sanitizer or potassium metabisulfite to ensure all your equipment is clean and ready to use. Lay the bottles on a sanitized hand towel to prevent contamination.
Start bottling mead
Here’s how to start bottling mead:
- Place the gallon jug or bottling bucket on a countertop or raised platform.
- Attach one end of the auto-siphon to the bottling bucket and the other to a sanitized bottle.
- If using an auto-filler, attach it to the siphon.
- Ensure the siphon’s end in the carboy does not disturb the sediment settled at the bottom.
- Start the siphon with a couple of pumps to begin the bottling process.
- Fill each bottle from the bottom up to prevent aeration and leave some space for the cap or cork.
- Once a bottle is filled, take out the siphon end or the auto filler and place it inside the next bottle.
Repeat this process until all the bottles have been filled.
Aging the mead
Once your bottles are filled, it’s time to seal them. For flip-top bottles, sealing is straightforward. If you’ve used beer or champagne bottles, crown caps and a capper are necessary. For wine bottles, use corks with a corker. Once sealed, store your bottles in a cool and dark location to prevent light exposure. Mead typically benefits from aging for at least three weeks in a cool place, though longer aging can improve flavor.
About Hidden Legend Winery
Hidden Legend Winery is a trusted name in mead-making, known for crafting high-quality, award-winning meads. Whether you’re a beginner or an experienced mead maker, Hidden Legend Winery offers the tools, knowledge, and products you need to perfect your own mead recipes. Visit their website to learn more about their premium meads and expert tips for the mead-making process.
Conclusion
The main challenges when you bottle mead are preventing aeration of the drink and sanitizing equipment. Always remember to take your time with new tools or techniques—it’s perfectly fine to test the waters first! If you nail this technique, give yourself a big pat on the back and enjoy a little celebration with some mead. You’ve earned it!